How to Organize a Closet on a Budget (Under $100)
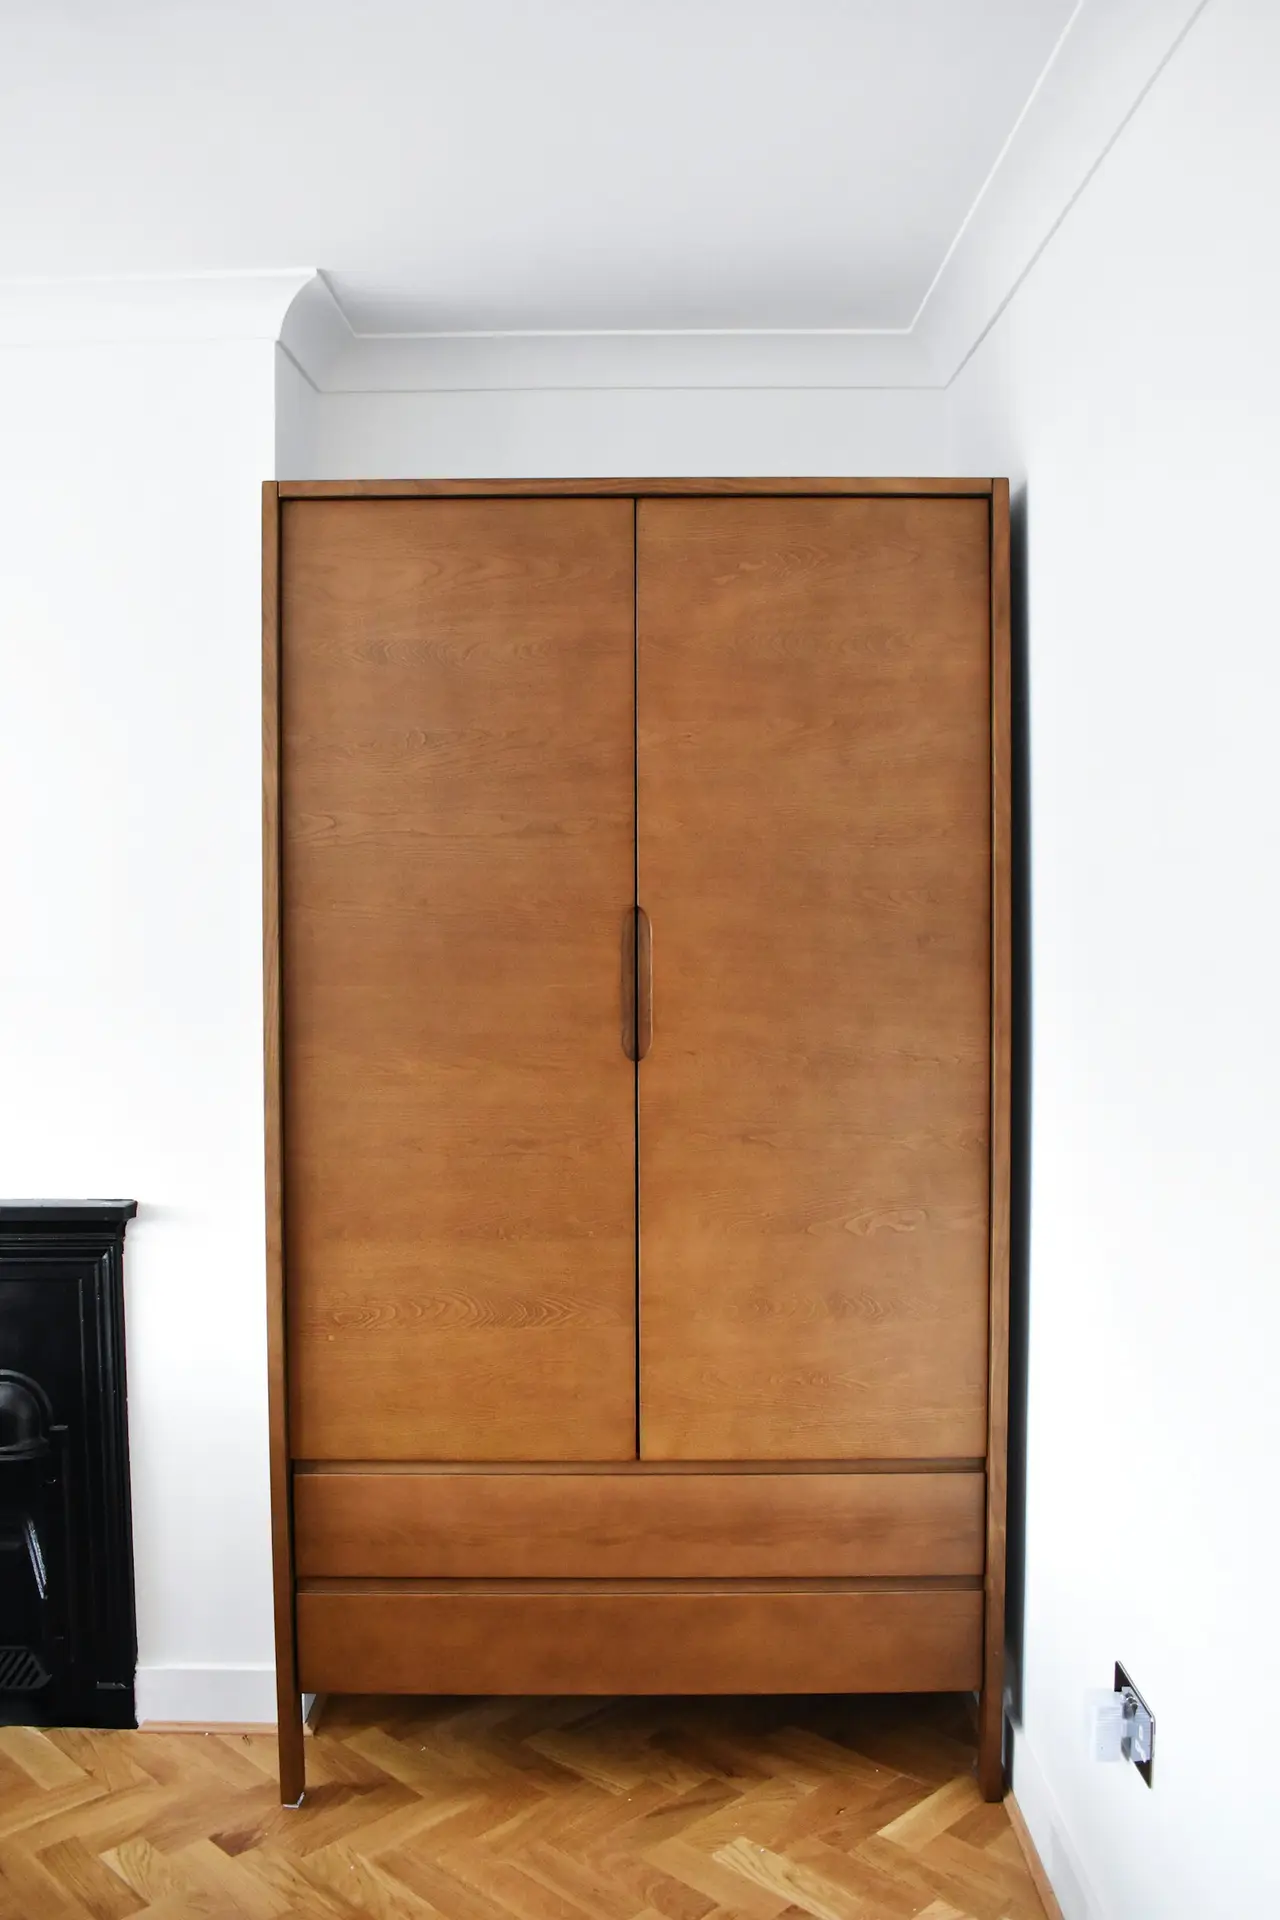
A disorganized closet wastes time every morning. You can create a functional system for under $100 using simple tools and a clear process. These steps work for reach-in closets and small bedrooms.
Step 1: Empty and Sort
Take everything out of the closet. Sort clothes into keep, donate, and discard piles. Be honest about what you actually wear. Most people can remove 20–30% of their items without missing them.
Time needed: 1–2 hours. Cost: $0.
Step 2: Measure Your Space
Measure the width, depth, and height of your closet. Note the location of any existing rods or shelves. This prevents buying organizers that do not fit.
Write down the measurements before shopping.
Step 3: Add Matching Hangers
Uniform hangers make the closet look calmer and help clothes hang evenly. Slim velvet or plastic hangers take up less space than wire hangers. Estimated cost: $15–$25 for a set.
Step 4: Use Shelf Dividers or Bins
If you have shelves, add fabric bins or dividers for folded clothes, shoes, or accessories. Label the bins so you know what is inside. Estimated cost: $20–$40.
Step 5: Install a Second Rod or Tension Rod
A second hanging rod doubles your hanging space for shirts and pants. A tension rod works in many closets without drilling. Estimated cost: $10–$20.
Step 6: Add Over-the-Door Hooks
Use the back of the closet door for bags, belts, or robes. Over-the-door hooks require no tools. Estimated cost: $8–$15.
Step 7: Create a Donation Habit
Keep a small bag or bin in the closet for items you no longer wear. When the bag is full, donate it. This prevents clutter from returning.
Quick Project Summary
- Difficulty: Beginner
- Estimated Total Budget: $40–$100
- Time: 2–4 hours
- Best for: Reach-in closets and small bedrooms
Once your system is in place, spend 5 minutes each week putting items back in their designated spots. Consistency keeps the closet organized longer than any single product.